
Quick answer: To run BlueStacks on a cloud PC, rent a Windows remote desktop that supports virtualization (an emulator RDP plan has BlueStacks pre-installed), connect with the Remote Desktop app, sign into your Google account inside BlueStacks, and install your apps. The server does all the heavy work; your own device just shows the screen. Pre-installed plans start at $16.99/month.
BlueStacks is a great emulator and a demanding one. It runs a complete Android system inside Windows, which means your PC is doing double duty every second it runs. If your computer stutters, overheats, or refuses to cooperate, moving BlueStacks to a cloud PC solves the problem at the root: the emulator gets server-grade hardware, and your device gets a break.
Why Run BlueStacks on a Cloud PC at All?
The reason is simple: emulators are resource-hungry, and most people’s hardware is not. BlueStacks officially wants a decent multi-core CPU, several gigabytes of free RAM, and virtualization enabled. On paper that sounds modest. In practice, running it alongside a browser with twenty tabs, Discord, and a game update means something has to give, and it is usually the frame rate.
A cloud PC flips the equation. The server it runs on was chosen for this workload, so the emulator gets dedicated CPU and RAM instead of leftovers. Your own machine only handles the remote desktop stream, which is light work. The result is smoother gameplay, faster app loading, and a laptop that stays cool and quiet. If your connection is decent, the experience is close to local, and your apps keep running on the server even when your own device is off.
Option 1: Rent an Emulator RDP With BlueStacks Pre-Installed
This is the straightforward path and the one most people should take. An emulator RDP is a Windows remote desktop where the provider has already installed and tuned BlueStacks. Virtualization is enabled, graphics settings are set, memory allocation is done. You receive your login details, connect, and open the emulator. There is nothing to configure and no way to get the settings wrong.
The tuning matters more than it sounds. BlueStacks has a settings page full of options, CPU cores, RAM allocation, graphics renderer, frame rate cap, and the wrong combination on the wrong hardware produces the stuttering most people blame on the emulator. On a pre-installed plan, someone who sets these up daily has already dialed it in. SadeemRDP’s Emulator RDP plans, from $16.99/month in the USA and UK, ship with BlueStacks pre-installed for exactly this reason, and support is available around the clock if anything needs adjusting.
Option 2: Install BlueStacks Yourself on a Windows VPS
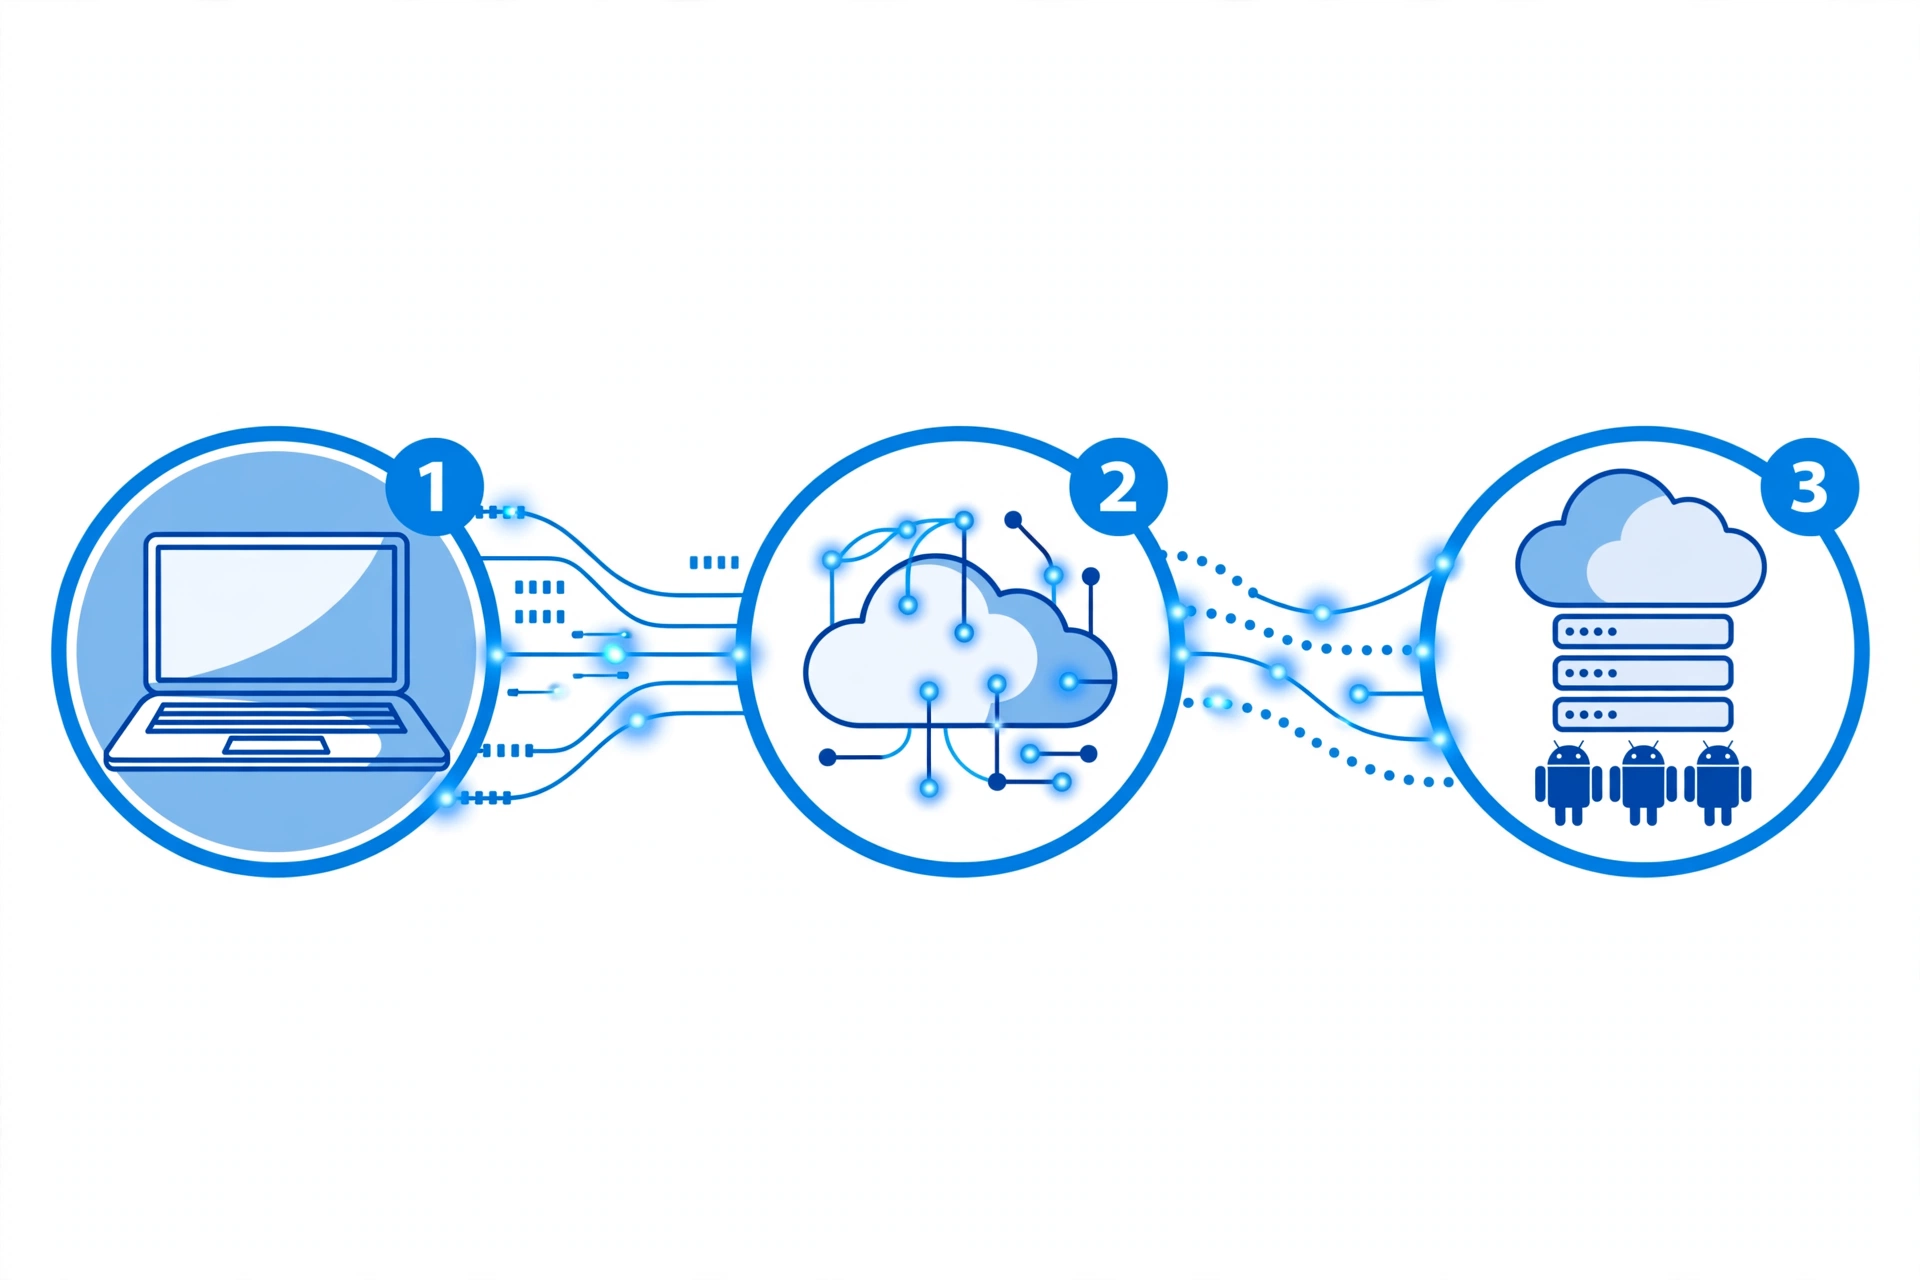
The second path is renting a private Windows VPS and installing BlueStacks yourself. This gives you full control: your own machine, your own settings, nobody else’s workload competing with you. The guide to RDP vs VPS explains the difference between shared plans and a private server in detail if you are weighing the two.
The catch is the setup. You need a VPS with virtualization support enabled, which not all providers offer, and you have to confirm that before paying. Then you install BlueStacks, sign into Google, allocate resources, and tune the settings yourself. It is not hard, but it is an afternoon of work, and a wrong setting costs you performance until you find it. This path makes sense if you want a private machine for other tasks too, development, automation, 24/7 workloads, and the emulator is just one of the things on it. A private Windows VPS with full admin starts at $6.99/month, but confirm emulator support with the provider first.
For most gamers and app users, Option 1 wins on simplicity. You are paying a few dollars more per month to skip the setup and the tuning. If you have ever wondered what an emulator RDP is and who needs one, that article walks through the use cases in full.
Skip the setup. Start playing.
Emulator RDP arrives with BlueStacks installed and tuned. Connect and your apps are ready.
From $16.99/mo · BlueStacks pre-installed · USA & UK · 24/7 support
Step-by-Step: Getting BlueStacks Running on Your Cloud PC
Here is the full process on a pre-installed emulator RDP plan, from payment to playing:
- Order the plan. Choose the emulator RDP option and pick the server location closest to you, USA or UK. Activation is fast after payment.
- Save your login details. You will get an IP address or hostname, a username, and a password. Keep them somewhere safe; you will use them every time you connect.
- Open the Remote Desktop app. Windows has it built in (search “Remote Desktop Connection”). On Mac, Android, or iOS, grab Microsoft’s free Remote Desktop app from the store.
- Connect. Enter the IP address, then the username and password when asked. Accept the certificate warning on first connection; that is normal for a new server.
- Open BlueStacks. It will be on the desktop or in the Start menu. The first launch takes a minute while it initializes.
- Sign into Google. Inside BlueStacks, open the Play Store and sign in with your Google account, just like a new phone.
- Install your apps. Download your games and apps from the Play Store. They install onto the server’s storage, so your phone stays untouched.
- Tune once, then forget. On a pre-installed plan the settings are already tuned, but peek at Settings and confirm the frame rate and resolution match your preference.
If anything feels sluggish during a session, the usual culprit is the connection, not the server. The guide on fixing RDP lag covers the quick wins: wired connection, closing local bandwidth hogs, and lowering the remote session’s display settings.

Performance Tips That Actually Matter
Related reading: Once BlueStacks is running, you can take it further — our guide to running multiple Android apps at once on a weak PC explains how to use the Multi-Instance Manager to run several apps side by side.
A handful of settings make the biggest difference. Inside BlueStacks, cap the frame rate at what your connection can actually deliver; pushing 120 FPS over a remote session wastes bandwidth and rarely looks better than 60. Match the emulator’s resolution to your screen rather than maxing it out. In your Remote Desktop client, drop the color depth to 24-bit and turn off visual effects like menu animations: they cost bandwidth and add nothing to a game.
Network choice matters more than any setting. A wired connection to your router beats Wi-Fi for remote sessions, every time. If you must use Wi-Fi, sit close to the router and avoid peak congestion hours on shared networks. And keep your session focused: a browser with forty tabs open on the remote desktop competes with BlueStacks for the same RAM, so close what you are not using.
One more honest note: check your game’s own rules about emulators before investing serious time. Most games allow them, some restrict certain features or match emulated players separately, and a few ban emulator use outright. That is the game’s policy, not the server’s, and it is worth five minutes of reading before you grind a new account.
Frequently Asked Questions
Can I run BlueStacks on a cheap RDP plan?
Usually not. BlueStacks needs virtualization support at the hardware level, and most cheap shared RDP plans do not offer it. You need an emulator-specific plan or a VPS with virtualization enabled. If a plan does not explicitly mention emulator support, assume it cannot run BlueStacks.
Do I need admin rights to run BlueStacks on a cloud PC?
On a pre-installed emulator RDP, no, the provider handles installation and you just use it. If you install BlueStacks yourself on a VPS, you need administrator rights on that machine. The guide on admin access on RDP explains which plan tiers include it.
Will my games run 24/7 on the cloud PC?
Yes. The server stays on around the clock, so your apps and games keep running when your own devices are off. You reconnect whenever you want and pick up exactly where you left off. Just make sure the plan’s terms allow your specific use, especially anything automated.
Is running BlueStacks on a cloud PC legal?
Running the emulator itself is legal. What matters is each game’s terms of service: some games allow emulators freely, others restrict them. Read the rules for the games you play. Nothing about the cloud PC changes the legal picture versus running BlueStacks on your own computer.
How much internet speed do I need for a cloud BlueStacks session?
Less than people expect. A stable 10 Mbps connection handles a remote desktop session with BlueStacks comfortably. Stability and low ping to the server matter more than raw speed, so a steady 10 Mbps beats a jittery 50 Mbps for this use.
Comments