
BlueStacks lags on a low-end PC because the emulator shares your CPU and RAM. The biggest wins are enabling virtualization (VT) in the BIOS and giving BlueStacks more CPU cores and RAM in Engine settings. Lowering resolution and FPS helps too. If the hardware itself is the wall, a cloud PC removes that bottleneck entirely.
Nothing kills the fun of mobile gaming on a desktop faster than a stuttering emulator. You tap to move, the character reacts half a second late, and by the time the animation catches up, the moment is already gone. On a low-end PC this is the normal state of BlueStacks, not an exception: the emulator is asking a weak machine to run an entire Android system on top of Windows.
The good news is that most of that lag comes from settings, not from a broken PC. A handful of changes, starting with a single BIOS toggle, can turn a choppy session into a playable one. This guide walks through seven fixes in order, from the quickest to the one that removes your hardware from the equation completely.
Why Does BlueStacks Lag on a Low-End PC?
BlueStacks does not run Android apps directly. It emulates a whole Android phone: CPU, GPU, memory and storage, all virtualized on your machine. That emulation layer costs real resources. Without hardware virtualization enabled, BlueStacks falls back to software emulation, which is far slower. On a machine with 4GB of RAM and a dual-core processor, Windows itself can eat half the available memory before BlueStacks even starts.
Every fix below attacks one part of that cost. Some reduce the workload; others give the emulator more room to work with. None of them can create hardware you do not own, but together they usually decide whether BlueStacks feels usable or broken on a modest machine.
Fix 1: Update BlueStacks and Pick the Right Instance
Start with the simplest fix. BlueStacks 5 is noticeably lighter than older versions, and updates often include performance improvements for weak hardware. Open the emulator, check for updates, and install the latest build before touching anything else.
Next, check which Android instance you are running. BlueStacks ships with a Multi-Instance Manager that lets you create different Android versions. On a low-end PC, lighter instances behave better: a Pie 64-bit or Android 11 instance with modest allocation is usually the sweet spot. Avoid running more than one instance at a time, since every instance doubles the resource cost; if you genuinely need several apps running side by side, here is how to run multiple Android apps at once on a weak PC without overloading it. One updated instance is the baseline everything else builds on.
Fix 2: Enable Virtualization (VT) in the BIOS
This is the single biggest fix on the list. Hardware virtualization (Intel VT-x on Intel chips, AMD-V on AMD chips) lets the CPU handle the emulator’s virtualization natively instead of emulating it in software. The difference is dramatic: BlueStacks without VT enabled runs like it is wading through mud.
First check whether VT is already on. Open Task Manager, go to the Performance tab, and look at the CPU section. If it says Disabled, restart your PC and enter the BIOS or UEFI settings (usually by pressing Delete, F2 or F10 during boot). Look for Intel Virtualization Technology, Intel VT-x, AMD-V or SVM Mode, and switch it on. Save and exit. Do not change anything else in the BIOS.
One warning: some budget laptops lock the BIOS so the VT toggle is not visible. If yours is locked, skip to the other fixes; there is no safe way around that lock, and the remaining fixes still help.
Fix 3: Give BlueStacks More CPU Cores and RAM
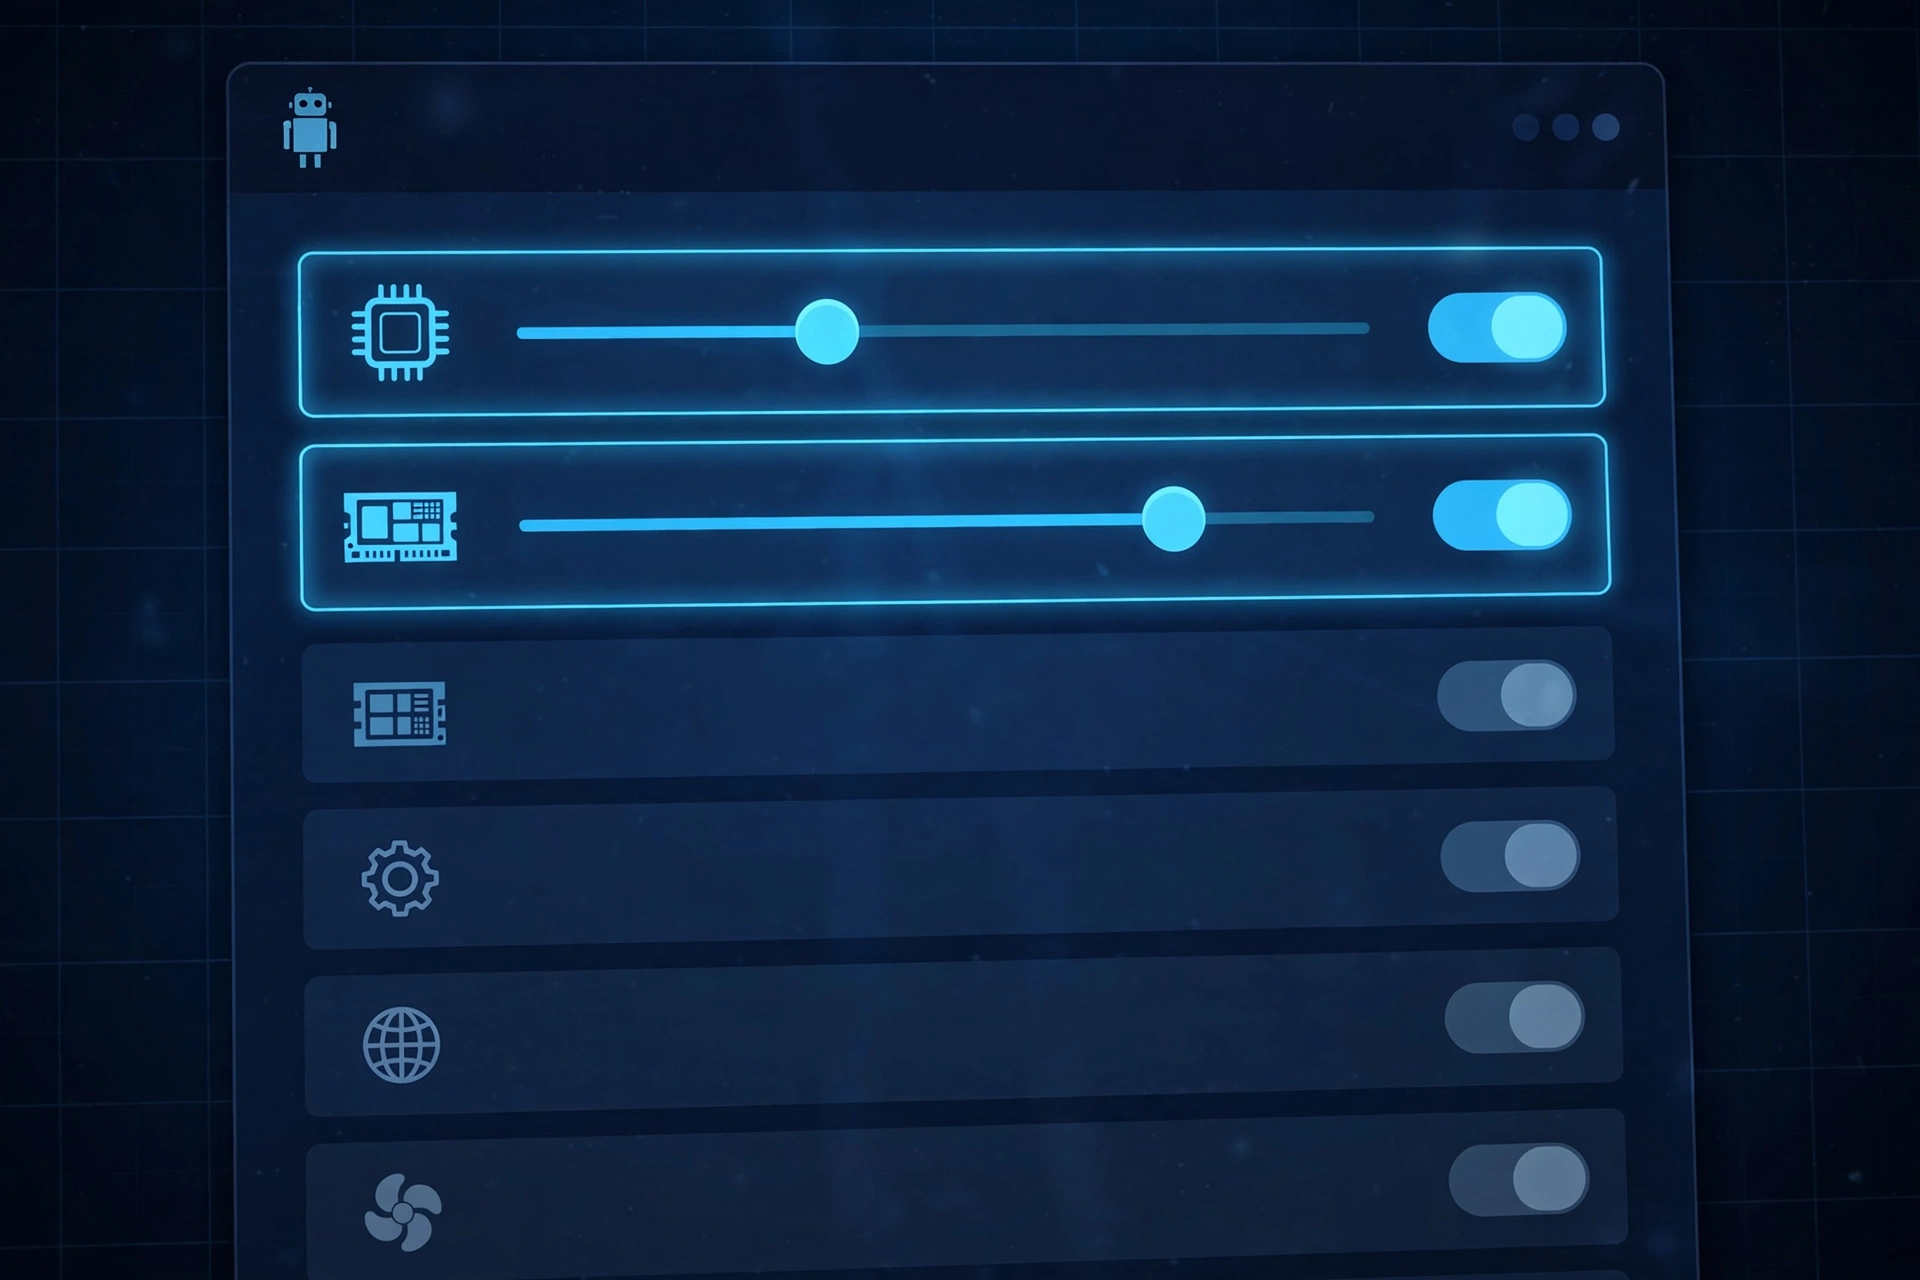
By default BlueStacks often under-allocates resources on weak machines, which sounds cautious but actually guarantees lag. Open BlueStacks Settings, go to the Engine tab, and look at the CPU and RAM sliders. The trick is to be generous without starving Windows: on a quad-core machine with 8GB of RAM, giving BlueStacks 4 cores and 4GB usually works well. On a machine with only 4GB of RAM, assign no more than 2GB and 2 cores; Windows needs the rest to breathe.
While you are in the Engine tab, set Performance mode to High performance. On a dual-core machine, resist the urge to hand over every core: leave at least one for the operating system, or the stutter gets worse instead of better.
Fix 4: Lower the Resolution and Cap the FPS
Every pixel BlueStacks renders costs GPU time your low-end machine does not have. In Settings, open the Display tab and drop the resolution to 1280×720 (or lower) and the DPI to 160. Then set the frame rate cap to 30 FPS. A stable 30 FPS feels far better than a stuttering attempt at 60.
Do the same inside your games. Most Android games have graphics settings: switch them to Low or Smooth, turn off shadows, and disable anti-aliasing. The game will look simpler, but it will respond when you tap.
From $16.99/mo · Run Android apps in the cloud
Fix 5: Switch the Graphics Renderer
Back in the Engine tab, find the Graphics renderer setting. BlueStacks offers DirectX and OpenGL, and which one runs better depends entirely on your graphics chip. Integrated Intel graphics often do better with DirectX; older or unusual GPUs sometimes behave better with OpenGL.
There is no universal right answer, so test it: pick the other renderer, restart BlueStacks when prompted, and play for ten minutes. If it is worse, switch back. This five-minute experiment sometimes clears up the last of the graphical stutter.
Fix 6: Close Background Programs and Use a High-Performance Power Plan
A low-end PC has no spare capacity, so background programs steal frames directly. Before launching BlueStacks, close your browser tabs, messaging apps, and anything syncing or scanning in the background. Open Task Manager, sort by CPU and memory, and shut down the heavyweights you do not need.
Then tell Windows to stop holding back. Switch to the High performance power plan; the default Balanced plan throttles the CPU to save electricity, which is the last thing you want during gaming. Turn on Game Mode so the system prioritizes the emulator. Finally, keep at least 10 percent of your drive free, since a full hard drive slows down the virtual disk BlueStacks runs on.
Fix 7: When the Hardware Is the Wall, Move to a Cloud Emulator PC
Here is the honest part. The six fixes above have real limits. On a 4GB-RAM machine with a dual-core processor and an old hard drive, you can tune everything perfectly and still fall short of smooth play. When the hardware itself is the bottleneck, no setting can add cores that do not exist.
That is where a cloud PC comes in. Instead of running BlueStacks on your machine, you run it on a powerful remote server and connect to it over the internet. The heavy lifting happens server-side, so your local PC only needs to display the result. Lag becomes a question of your internet connection, not your processor. If you want to understand the concept first, this guide explains what an Emulator RDP actually is and who it is built for, and this one covers running BlueStacks on a cloud PC step by step.
SadeemRDP offers an Emulator RDP plan from $16.99 per month with BlueStacks pre-installed on an always-on cloud PC in the USA or UK. There is no local installation and no hardware upgrade to buy; you log in and play.

When lag is really a hardware ceiling rather than a settings problem, see how Android games run on a PC without a graphics card for the honest limits and the cloud option.
BlueStacks lag is frustrating because it can come from settings, drivers, or the machine itself. Can You Play PUBG Mobile on an Emulator RDP? (Guide) shows a demanding game on the same setup, How to Run Android Apps 24/7 on a Cloud PC (2026) covers long-running apps, and Can You Play Free Fire on an Emulator RDP? (2026) is a lighter game to test against.
Frequently Asked Questions
Is 4GB of RAM enough for BlueStacks?
BlueStacks lists 4GB as the minimum, and it will run, but Windows itself can use 2GB or more, leaving almost nothing for the emulator. Expect lag on 4GB unless you keep the allocation small and close every background app. 8GB is the realistic minimum for smooth play; on 4GB machines the fixes above help, but heavy games will still struggle.
Does enabling VT really make BlueStacks faster?
Yes, it is the most impactful single change. Virtualization lets the CPU handle the emulator’s virtualization in hardware instead of software, which cuts a huge amount of overhead. Without VT enabled, BlueStacks runs far slower no matter what other settings you change. Always check Task Manager first to confirm whether it is already on.
Which BlueStacks instance is best for a low-end PC?
A Pie 64-bit or Android 11 instance with modest CPU and RAM allocation is the best balance for most games on weak hardware. Avoid running multiple instances at once, since each one duplicates the resource cost. Older 32-bit instances are lighter but may not support newer games, so match the instance to the apps you actually use.
Should I allocate all my CPU cores to BlueStacks?
No. Always leave at least one core for Windows. If the operating system has no CPU left to run on, the whole machine stalls and the emulator stutters worse than before. On a quad-core PC, 3 or 4 cores for BlueStacks is reasonable; on a dual-core PC, give it 2 and keep background apps closed instead.
Can I play heavy games on a weak PC with these fixes?
Be realistic: demanding games will still run at reduced settings and lower frame rates on old hardware, and no setting changes that. If smooth play in heavy titles is the goal, a cloud Emulator RDP is the honest answer, since the game runs on server hardware. In that setup your internet speed matters more than your processor.
Start with Fix 2 and Fix 3, since virtualization and resource allocation deliver the biggest improvement for the least effort. If the emulator still stutters after all seven fixes, the limitation is the hardware, not the configuration, and that is exactly the situation a cloud Emulator RDP is designed for. For official guidance, BlueStacks documents its virtualization setup steps and system requirements for BlueStacks 5 in detail.
Deciding which emulator to run in the cloud? Read our BlueStacks vs LDPlayer on a cloud PC comparison first.
Comments